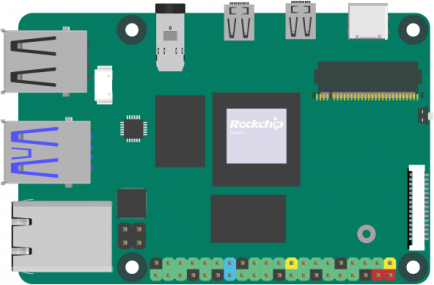
The ROCK 5A is a single board computer by Radxa that:
Here’s how to get started using the ROCK 5A with Klipper.
Download the latest Armbian image for the ROCK 5A from here. I recommend using the minimal Debian bookworm image.
Flash the image to your microSD card or eMMC module using Etcher.
Insert the microSD card or eMMC module into your Rock 5A and power it on. Once booted, go through the initial setup process. If you are doing a headless setup, you can connect to the ROCK 5A using SSH with default username root and password 1234.
KIAUH is a script that makes it easy to install Klipper, Moonraker, and a web interface on a Debian-based system. It works out of the box on Armbian on the ROCK 5A.
First install git:
sudo apt-get update && sudo apt-get install git -y
Once git is installed, download KIAUH into your home directory:
cd ~ && git clone https://github.com/th33xitus/kiauh.git
Finally, run KIAUH:
./kiauh/kiauh.sh
Install Klipper, Moonraker, and your desired web interface (I use Mainsail) using the KIAUH menu.
USB works out of the box on the ROCK 5A, so you should now be able to connect to your printer’s controller board using a USB cable.
From here, you should be able to follow the Klipper Getting Started Guide or your printer’s specific guide to get up and running. Happy printing!
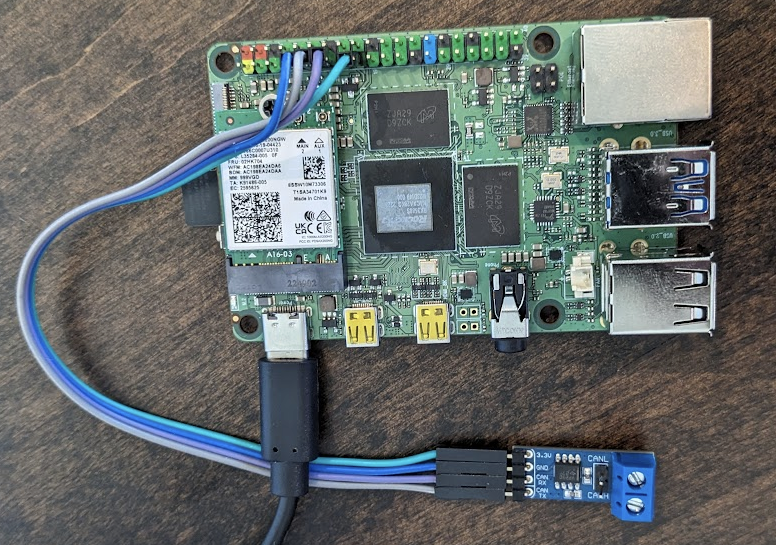
The Rock 5A’s RK3588 has native CAN bus support, and the Rock 5A even exposes it on the 40-pin GPIO header! This means we can use it to talk to CAN bus toolhead boards without a USB CAN adapter like a BTT U2C or Canable.
According to the Rock 5A GPIO docs, the CAN1-M1 interface is available on the following pins:
CAN1_TX_M1 - GPIO 11CAN1_RX_M1 - GPIO 13You will, however, need to attach a CAN bus transceiver such as a the SN65HVD230 or TJA1051. You can find CAN bus transceiver breakout boards on AliExpress for less than $1.
I used a SN65HVD230 breakout board connected like this:
You can activate the CAN1-M1 interface using a device tree overlay.
Add overlays=rk3588-can1-m1 to /boot/armbianEnv.txt and reboot. You should now see the can0 interface when running ip link.
Armbian uses NetworkManager to manage network interfaces, which doesn’t support configuring CAN networks. We’ll need to make sure we also have ifupdown available, then we can configure the CAN network using that.
Make sure ifupdown is installed:
sudo apt install ifupdown
Make sure the /etc/network/interfaces.d directory exists.
sudo mkdir -p /etc/network/interfaces.d
Create /etc/network/interfaces.d/can0 with the following contents:
allow-hotplug can0
iface can0 can static
    bitrate 1000000
    up ip link set $IFACE txqueuelen 1024
Now you should be able to bring up the can0 interface:
sudo ifup can0
If you have a CAN bus toolhead board connected, you should now see it when running the following command:
$ ~/klippy-env/bin/python ~/klipper/scripts/canbus_query.py can0
Found canbus_uuid=3a6bff7c76a8, Application: Klipper
That’s it! You should now be able to follow the rest of the Klipper docs to use the CAN bus interface with Klipper.